This site runs ads and generates income from affiliate links.
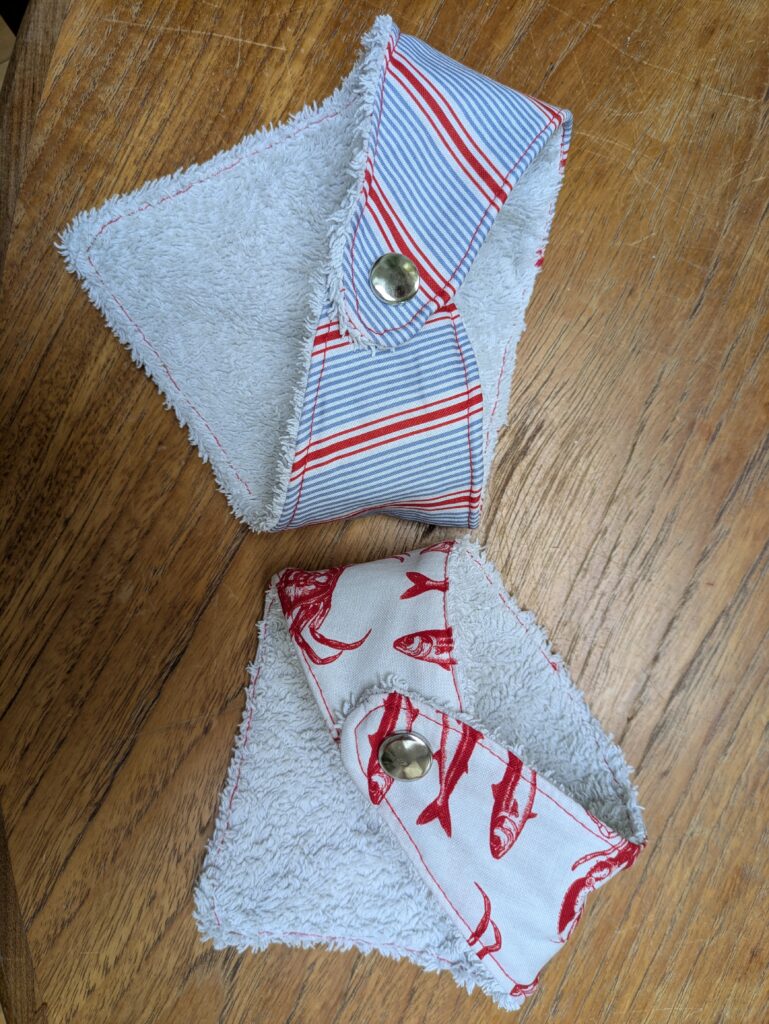
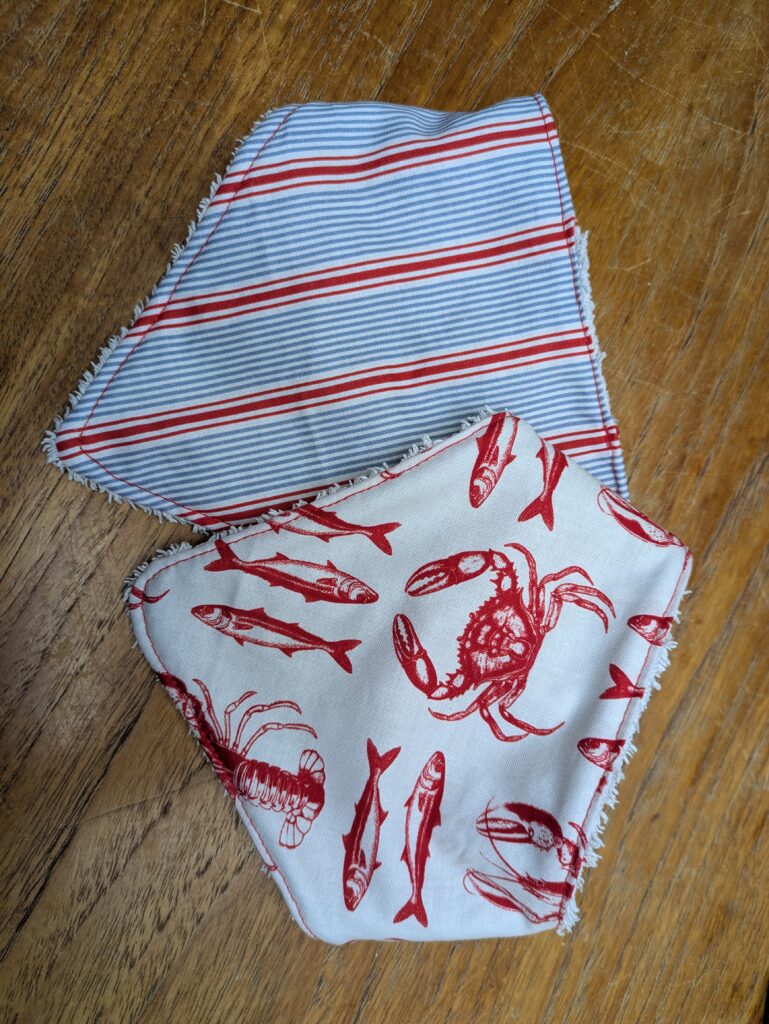
This is a great way to use old towels that have seen better days. They can be made to match outfits, are quick to make and really cute!
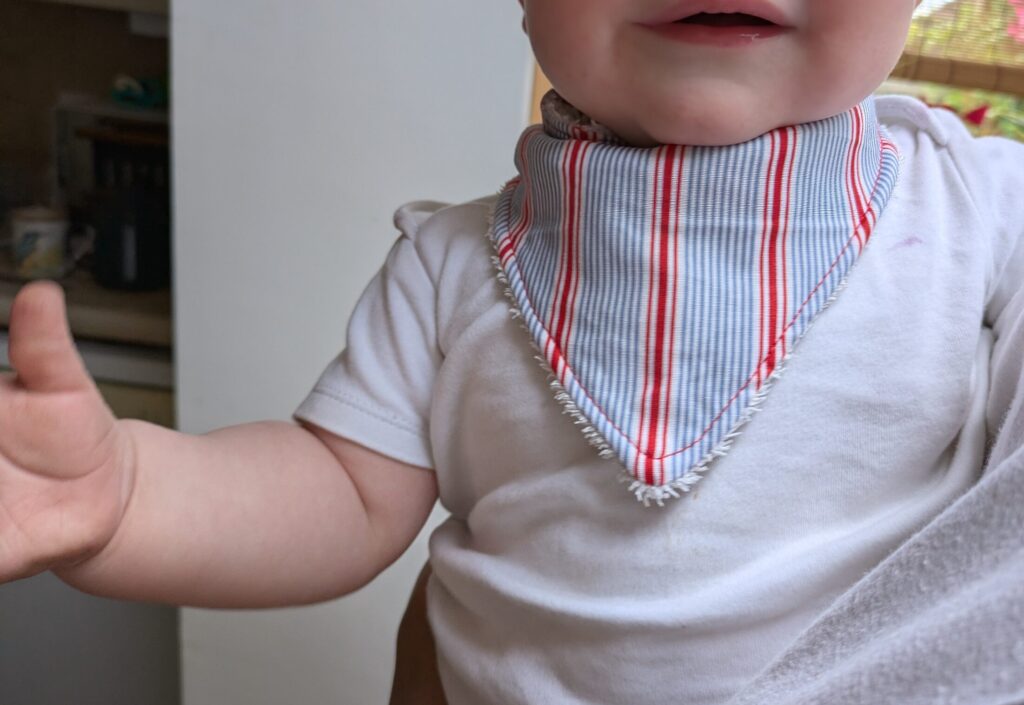
My 8 month old is so dribbly, he often goes through three or four bibs a day. He hasn’t even started teething yet, so I desperately need to get ahead and make more!
If you also have a teething baby and some old towels, I’d strongly encourage you to do this project. Hopefully, like me you can squeeze a couple of bibs into an evening whilst the baby sleeps.
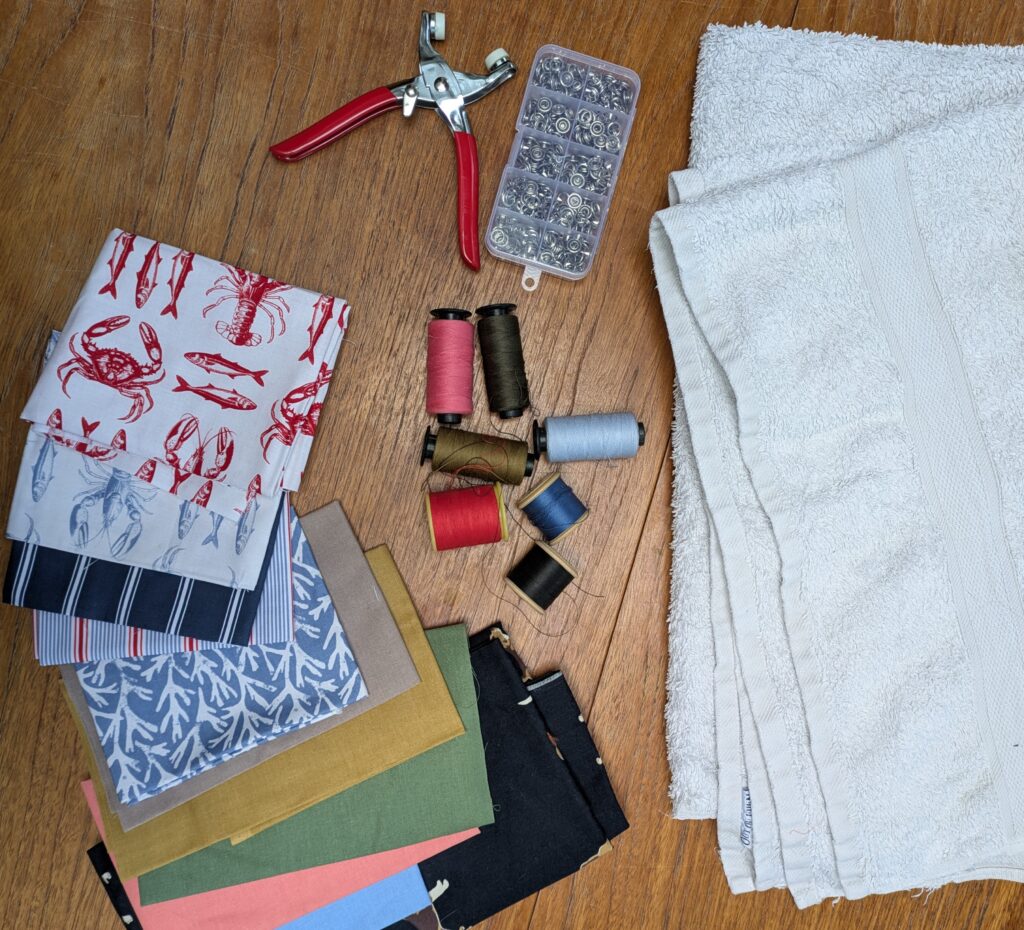
Materials/tools needed:
- Old Towel
- Some colourful or patterned fabric such as cotton
- Cotton thread
- Snap button fastener and snap buttons (I tried two types, as explained below) Lightweight fabric fastener / heavy duty fastener
- Sewing machine
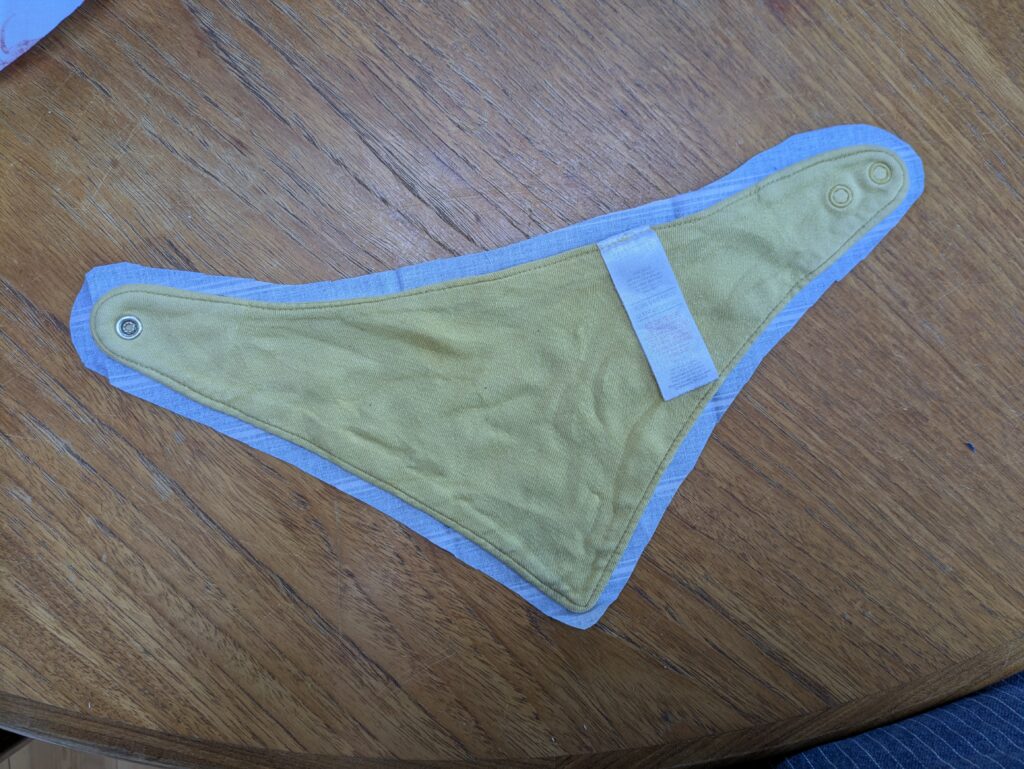
Using a current bib as a template is quick and easy, you just need to add an extra 1cm for a seam allowance.
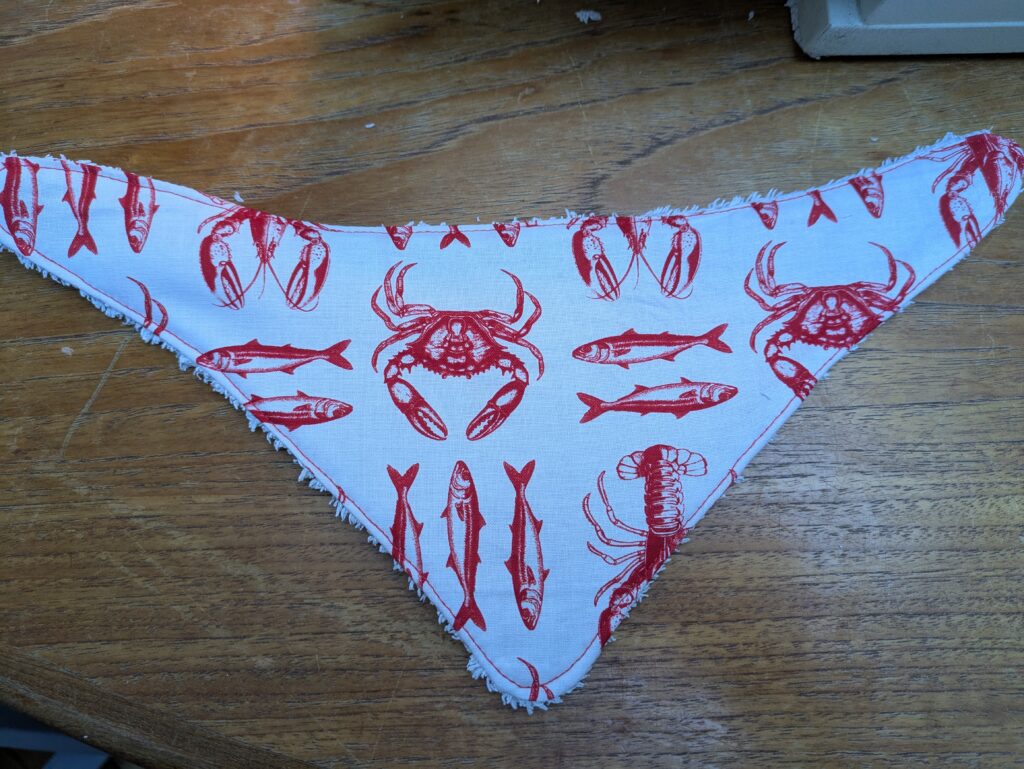
I had some cute patterned fabric from Dunelm which was leftover from another project, so now have a nice range of bibs for the babe!
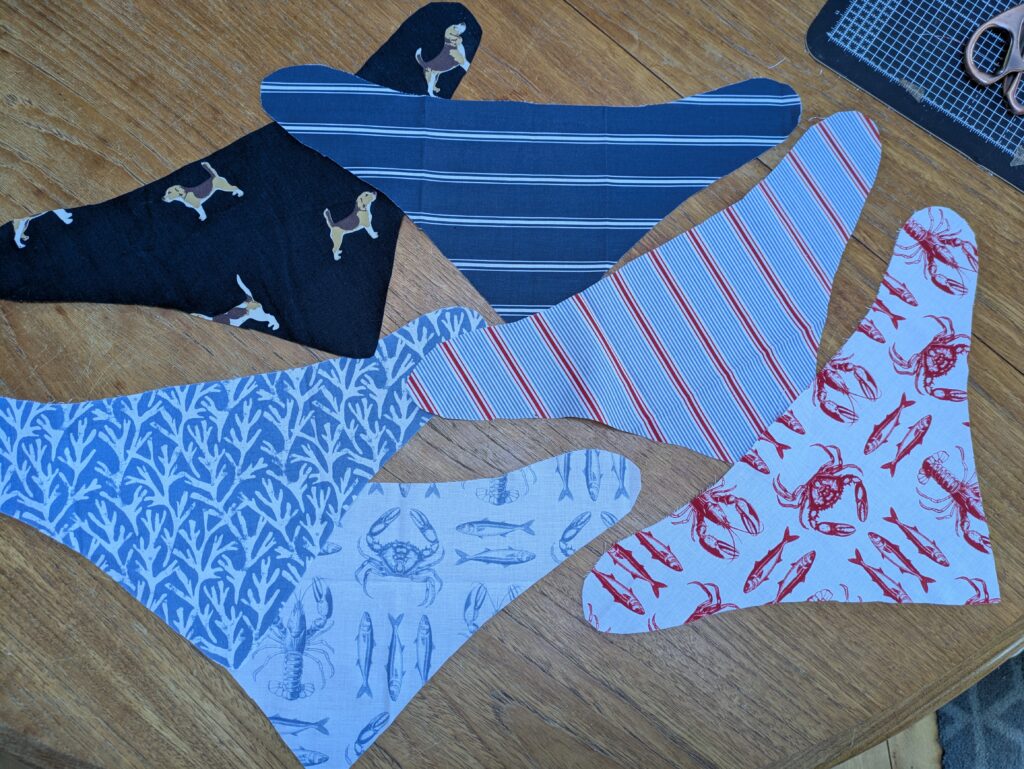
Once you have your desired number of bibs, you can then cut out the towel/s the same size. The towel does make quite a bit of mess when cut, but if you have an overlocker, you could always neaten the edges, however it isn’t necessary.
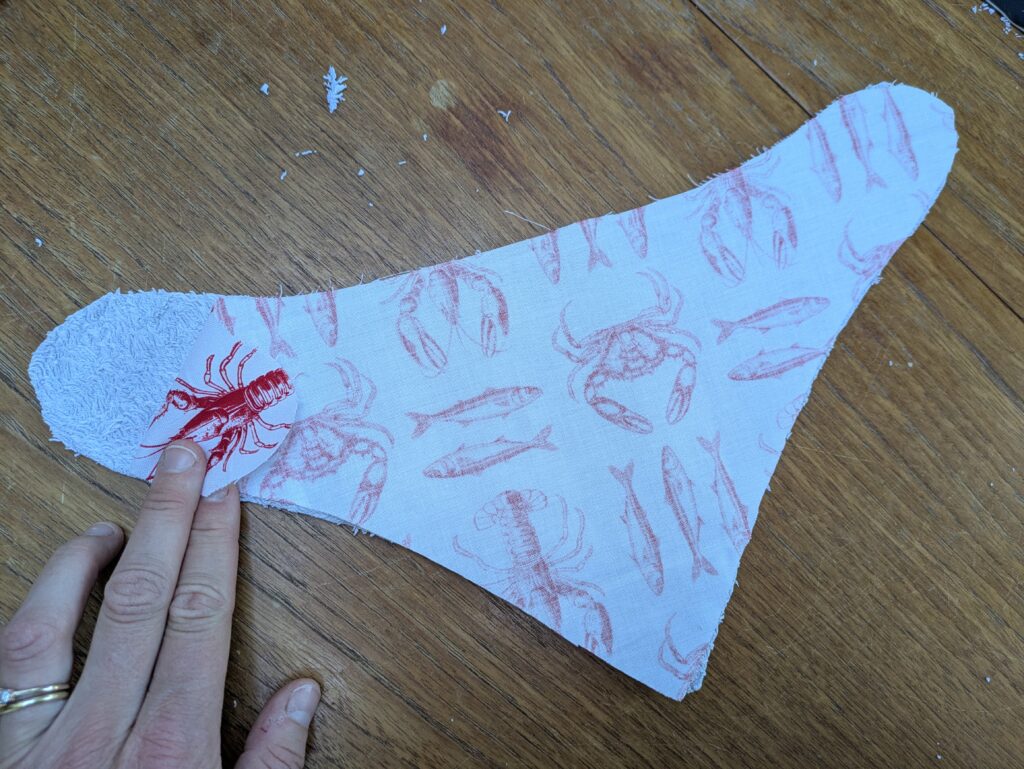
Right side facing in, you then want to sew the two pieces together. As my towel was particularly thick, I left a 6cm gap to pull the fabric through.
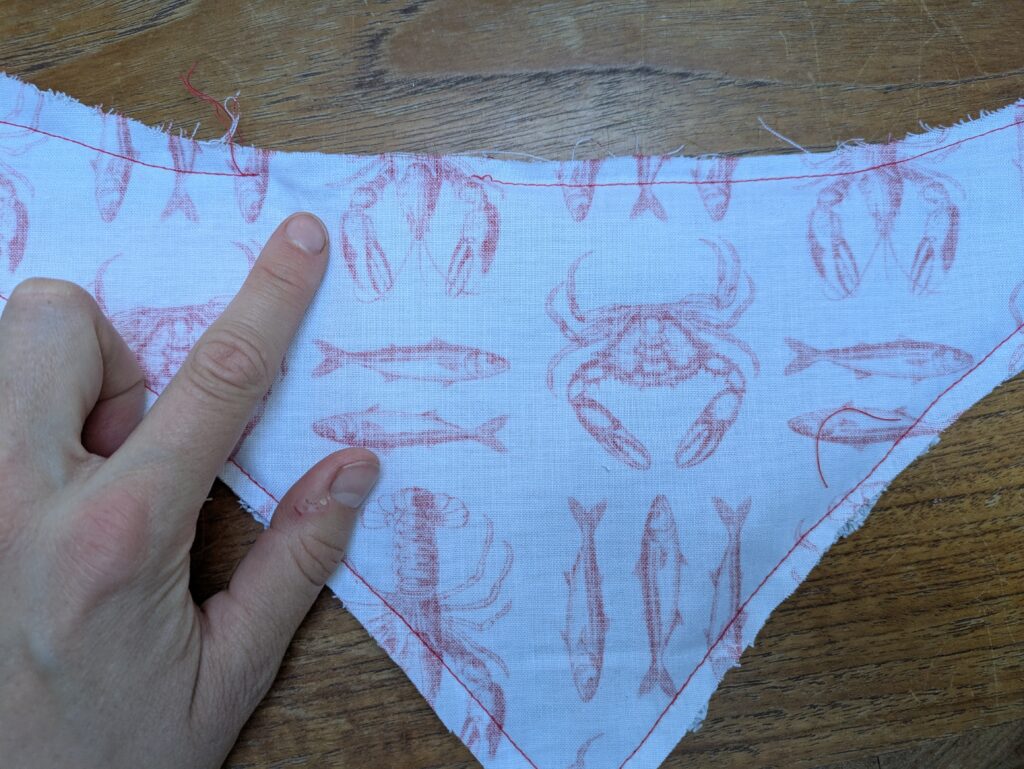
Once you have turned the fabric out, (I use a chopstick to help with the ends) you then want to sew a top stitch around the whole bib, roughly 3mm from the edge. I used some clips to close the gap and make sure everything lined up correctly.
I love how easy this project is, and the fact that you basically already have a bib!
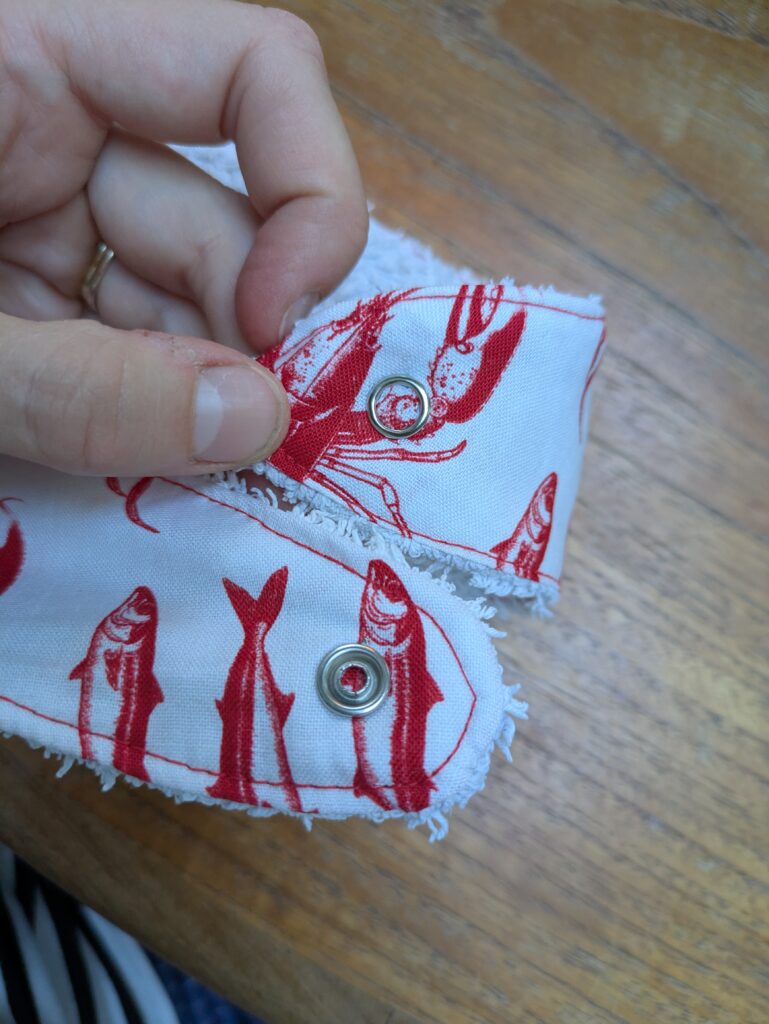
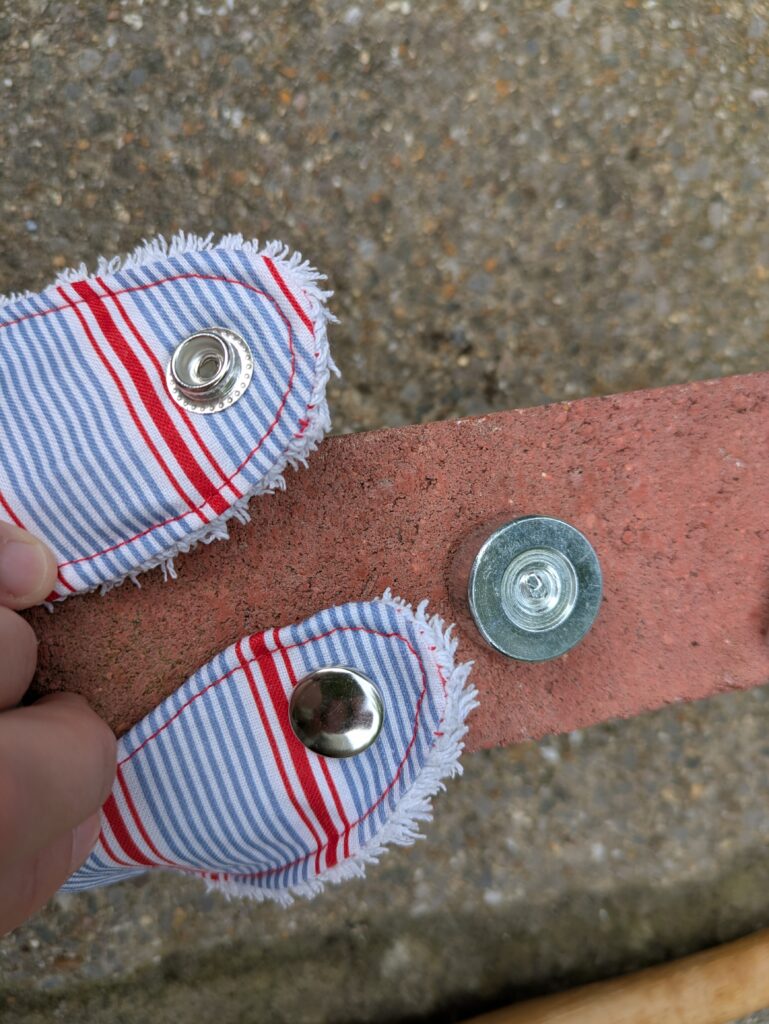
The final step is to attach the snap buttons, and this is one that I had to play with a few times. I used two types of button and fastener, starting with the lightweight option as in the photos above. If you have towels thin enough, then these shouldn’t be an issue, however mine was way too thick. I thought initially that the towel needed trimming in the corners as it was bulking up where I needed to add the button, but after some trial and error, I realised it wasn’t going to work and therefore, I needed to find a more robust option.
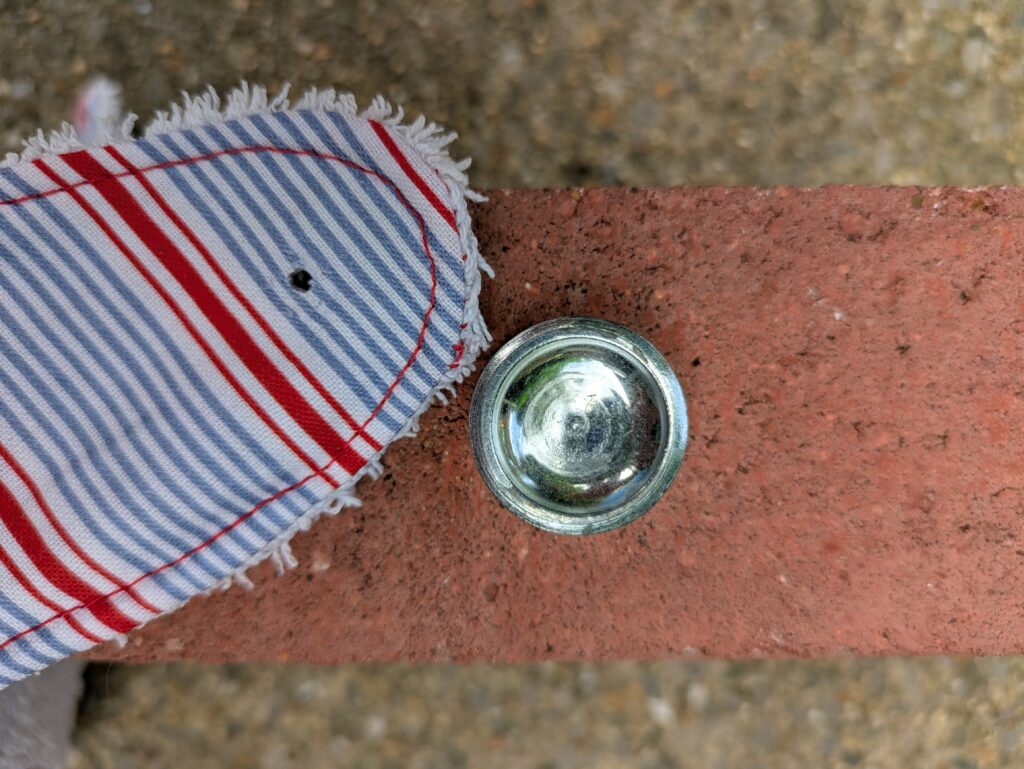
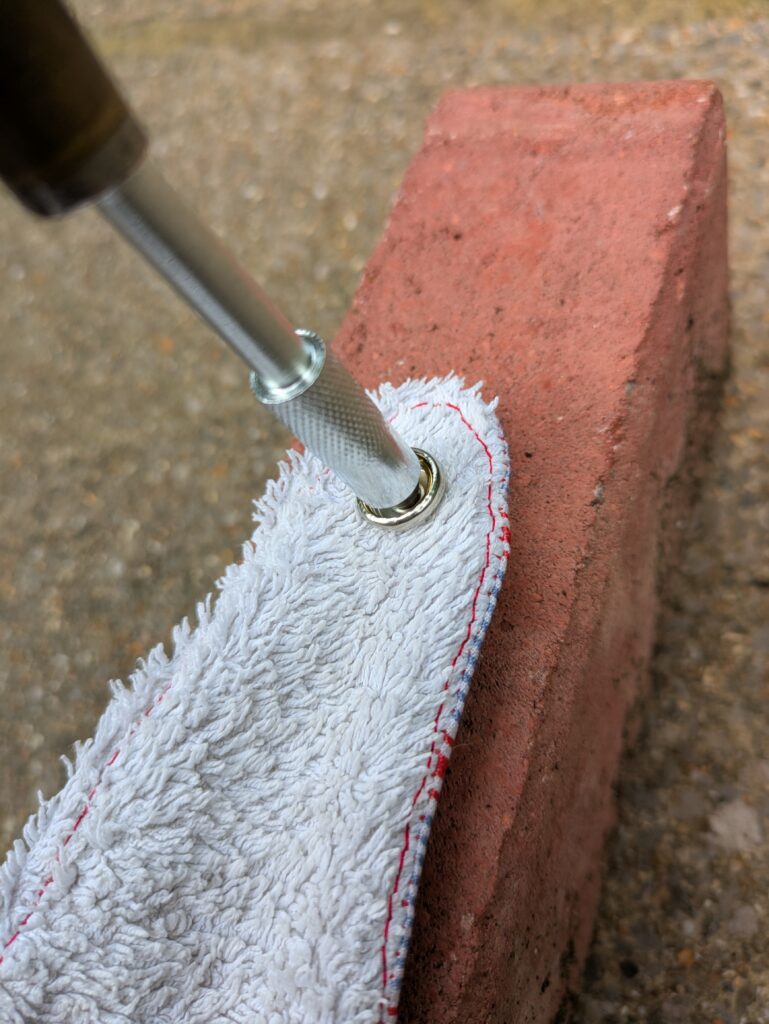
This set was a lot stronger and suitable for my project. It came with instructions and was super easy to use. The one thing you need is a hard surface to hammer onto, so I did it using a brick we had lying around.
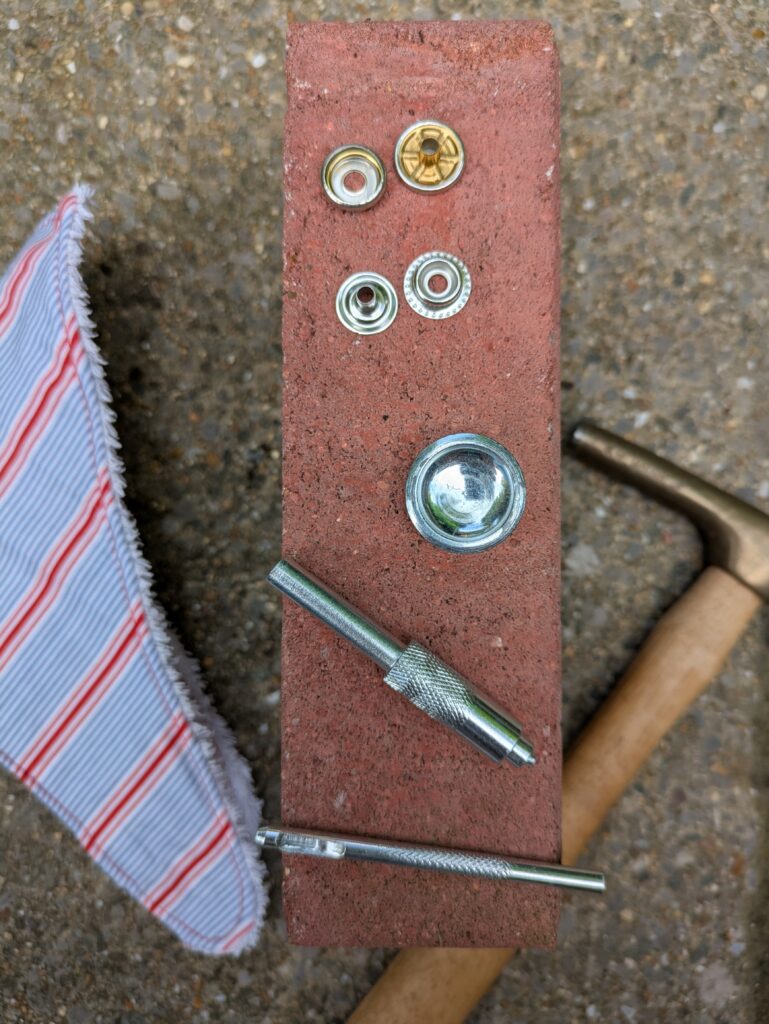
In addition to this set, you’ll need a hammer. I used my tacking hammer, but a regular one would do too. You don’t need a lot of force, just a hard surface.
The instructions are very simple yet, it could be confusing if you don’t read them correctly.
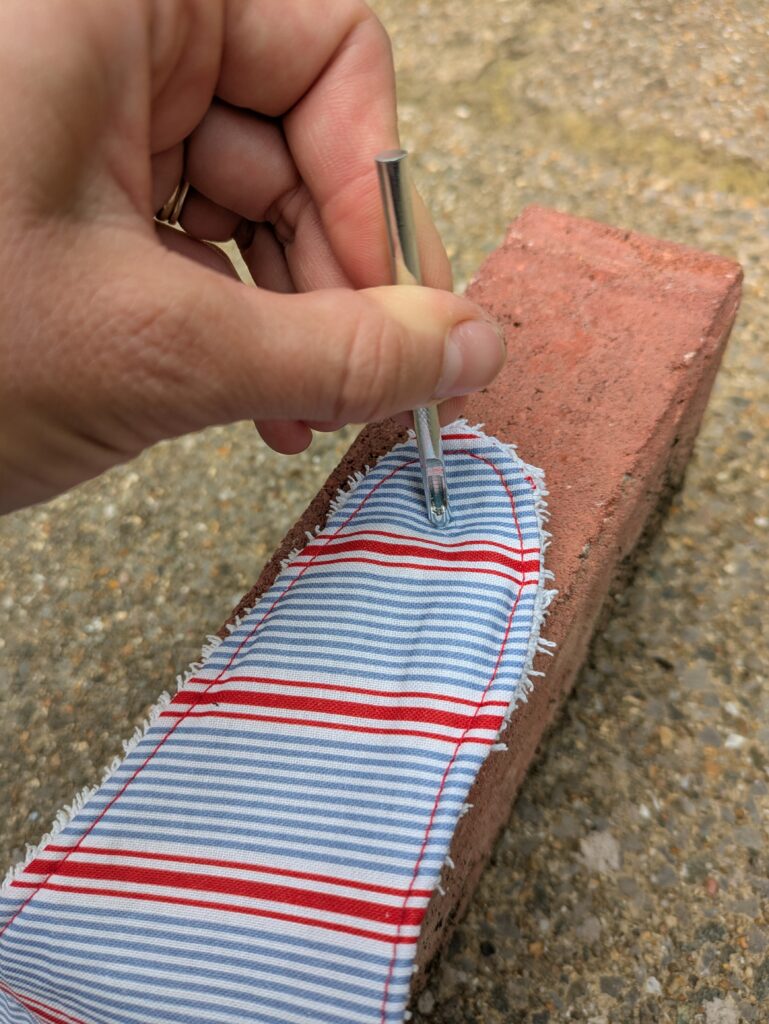
- Step 1: hammer a hole into the fabric using the specific tool. I found I had to twist it a little to make a neat hole.
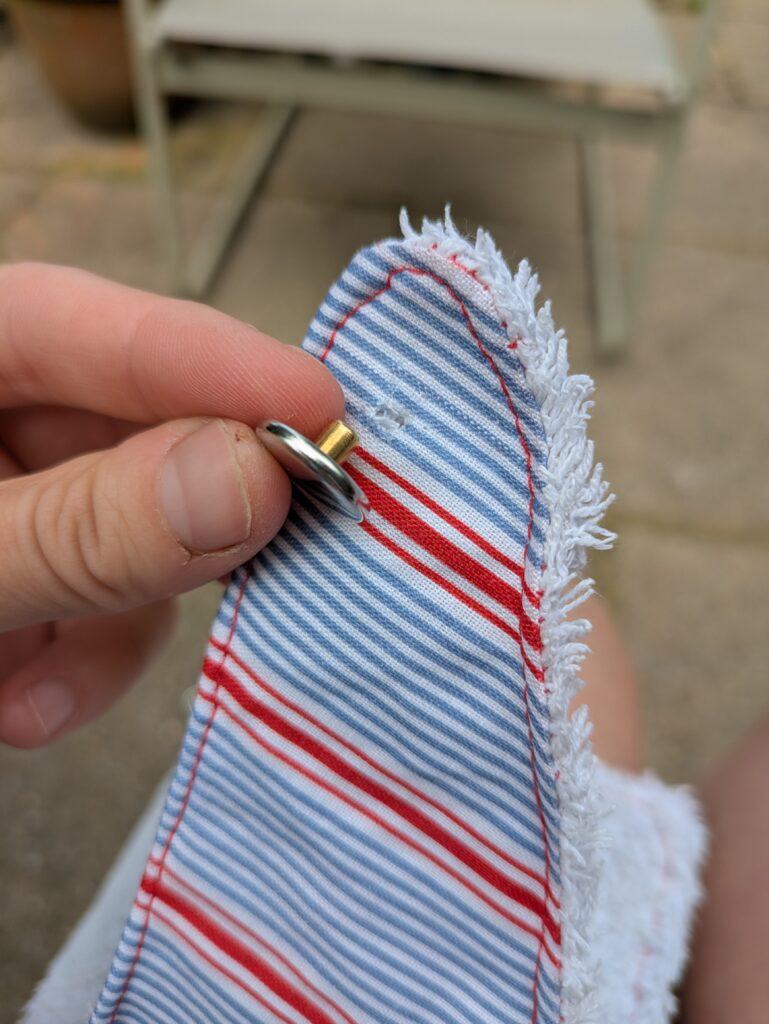
- Step 2: Place the button front through the hole and pop back piece on.
- Step 3: Make sure the circular metal part has the concave part facing up and rest the button into this. Place the metal tool into the hole and hammer hard a few times. This doesn’t feel like much is happening, but there should be a rivet formed and the button will be set in place.
- Step 4: Repeat with the two remaining pieces for the other side, however this time you want to use the convex side of the metal piece.
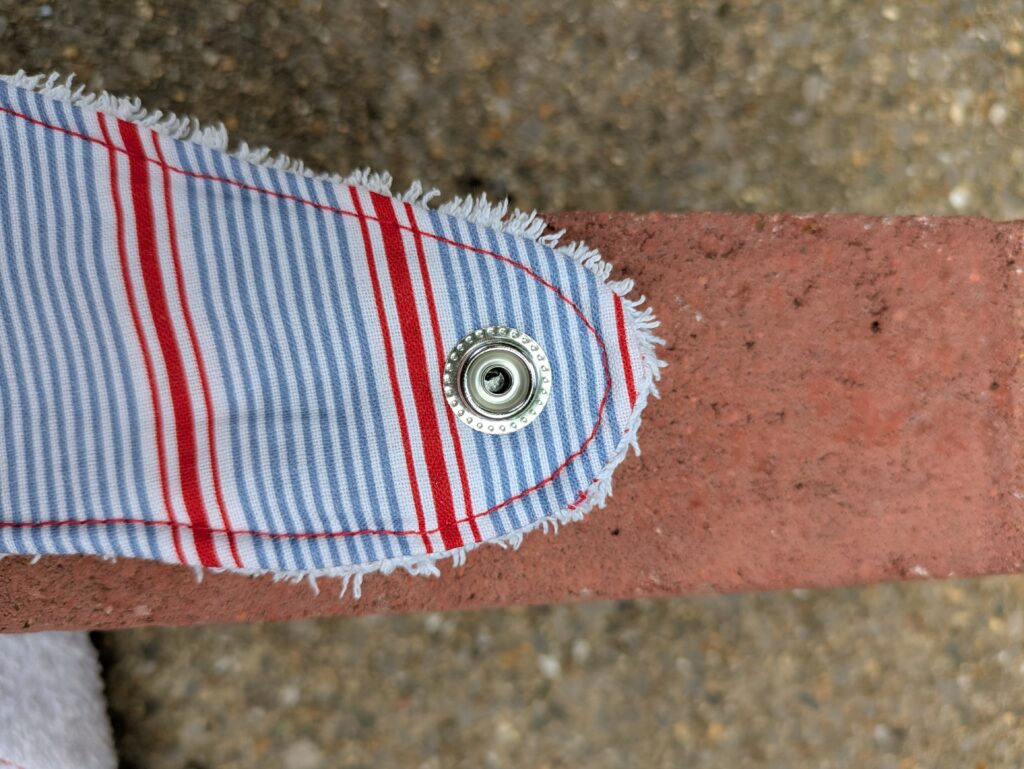
And there we have it: a complete bib with snap button fastening! I’ll have to come back to let you know how they hold up in the wash.
Have fun making!