7 DIY Crafts for a Beautiful & Personal Wedding
2023 was a year of many bigs for myself and my husband. We moved house, got married (after 10 years together) and adopted Otto (our dog).
The wedding, as expected took a lot of my focus. I love making and doing things on a budget, therefore, I did a lot of crafting in order to create a beautiful and personal day on a budget. I didn’t have much of a theme but knew I wanted some focus on nature lots of colour.
Below, I have compiled a list of items I DIY’ed for the day. Some are more niche and personal to us, but they could be adapted to any theme/event. I hope you are inspired to get crafty; they’re all super simple yet effective and above all I think they look really cool!
- Wax lanterns
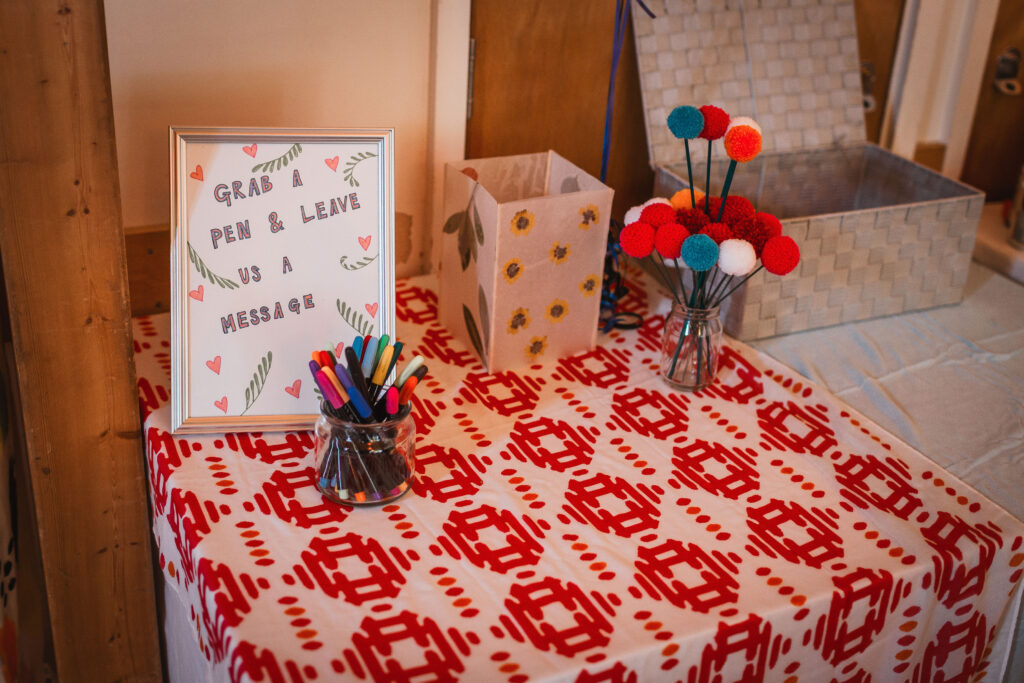
You only need four items to make these beautiful lanterns: wax paper, lollypop sticks or dowels, pressed flowers and a glue gun. I picked quite a few flowers earlier in the year and pressed these with my flower press, but you can of course buy them online or in store. You’ll want to cut the pieces of wax paper and dowel to the size you want. You’ll need 4 dowels and 8 pieces of paper to sandwich the flowers between. First, cut the paper out and arrange flowers in a layout of your choosing on the wax side of one piece of paper. You’ll then need to lay the next piece directly on top (wax side down) and with a hot iron (no steam) press the pieces together. You may want to lay something on top and below the pieces of wax paper to avoid any leaking wax getting on the iron/surface.
Once you have all four complete, you can glue the dowels to the pieces creating the corners.
You don’t want to put any real flame near these so you can purchase some electric candles for a whimsical table setting.
2. Mushroom favours
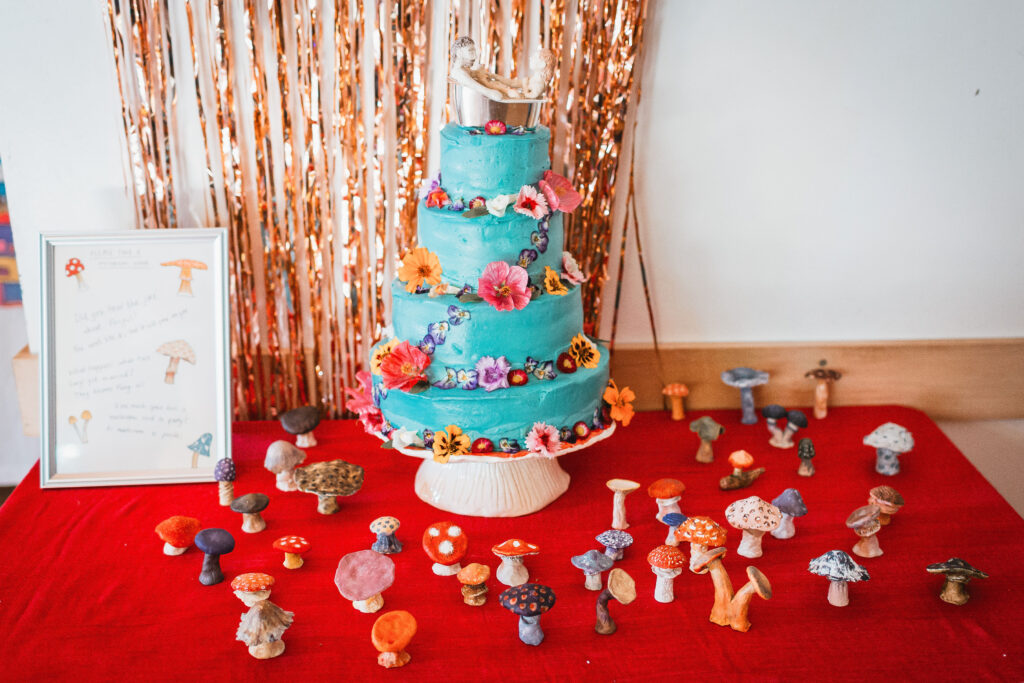
As we love nature, we incorporated the theme into the day, without limiting ourselves to this alone. We weren’t traditional in the sense that we didn’t do a gift registry, there was no sit down meal, and I was also unsure what to do as a wedding favour, if anything at all. Not all our guests would be expecting anything or wanting to take anything home, but I knew that some would want a memento from the day, so I spent some time creating a range of mushrooms from air dry clay. I started out using a mushroom field guide to reference the shapes and colours, but by about the 10th mushroom, I had branched out and created some unique mushrooms that still looked real(ish) but were also colourful, to fit the other decor. I simply painted them with acrylic paint once dry and stamped the bottom with our initials and those that wanted one, took a mushroom home with them.
3. Photo wall / guest book
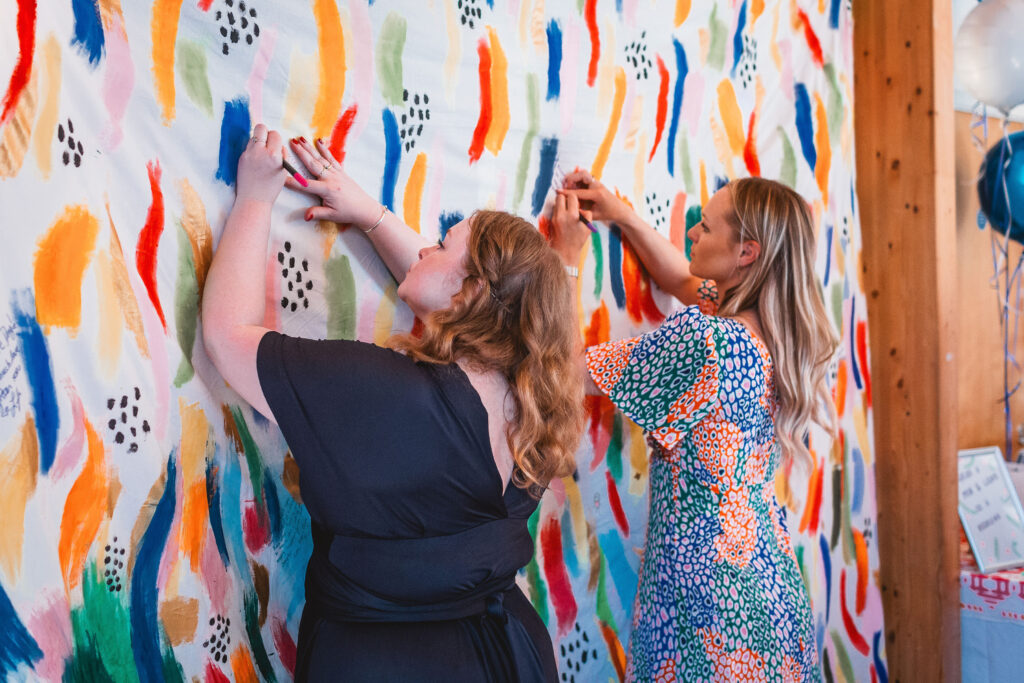
This DIY was simple and beautiful, but also had multiple purposes. I created a photo feature wall, which could double up as a tablecloth in the future, and it also allowed guests to leave a message! I purchased a cheap tablecloth from IKEA and painted it with a colourful pattern, using fabric paints. This became a feature and photo backdrop and fabric pens were provided for the guests messages.
I now use this as a tablecloth for special events. I would make some changes if I were to redo this project, namely, I would use more permanent paints, so that I could run the cloth through the wash without the worry of the paint washing away.
4. Mirror sign
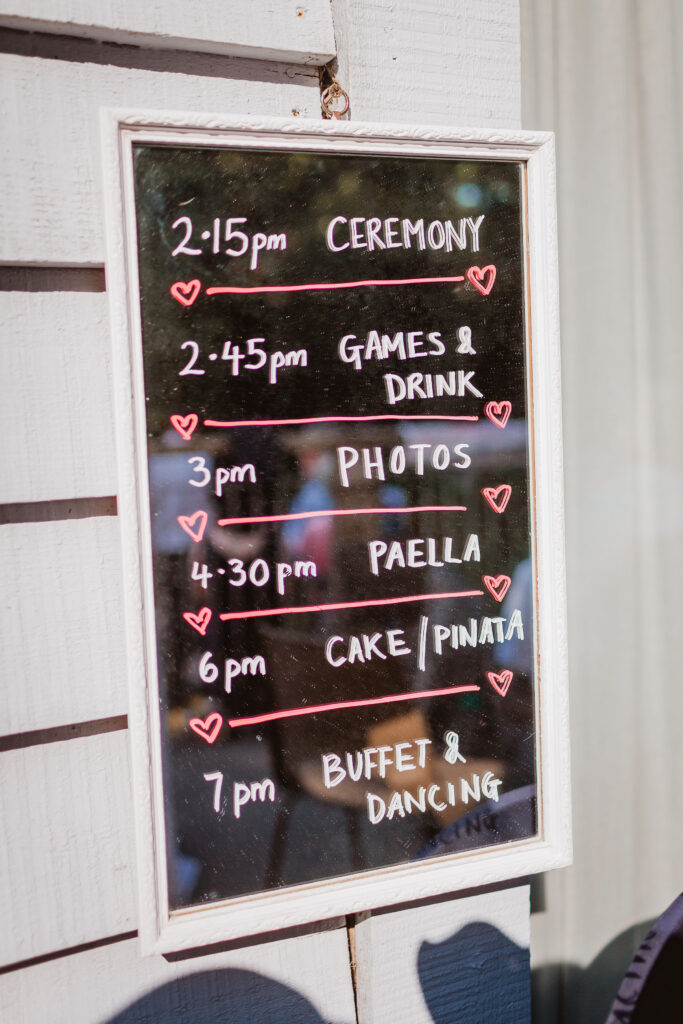
This was the easiest DIY of the day, and I think it looks really pretty too! I simply purchased a cheap mirror from a charity shop and then wrote on it using glass pens so that everyone was aware of the rough timings of the day. Hang it where everyone can see it and there’s no need for announcements throughout the day, alleviating some stress so you can enjoy yourself.
5. Mushroom cake stand and cake topper
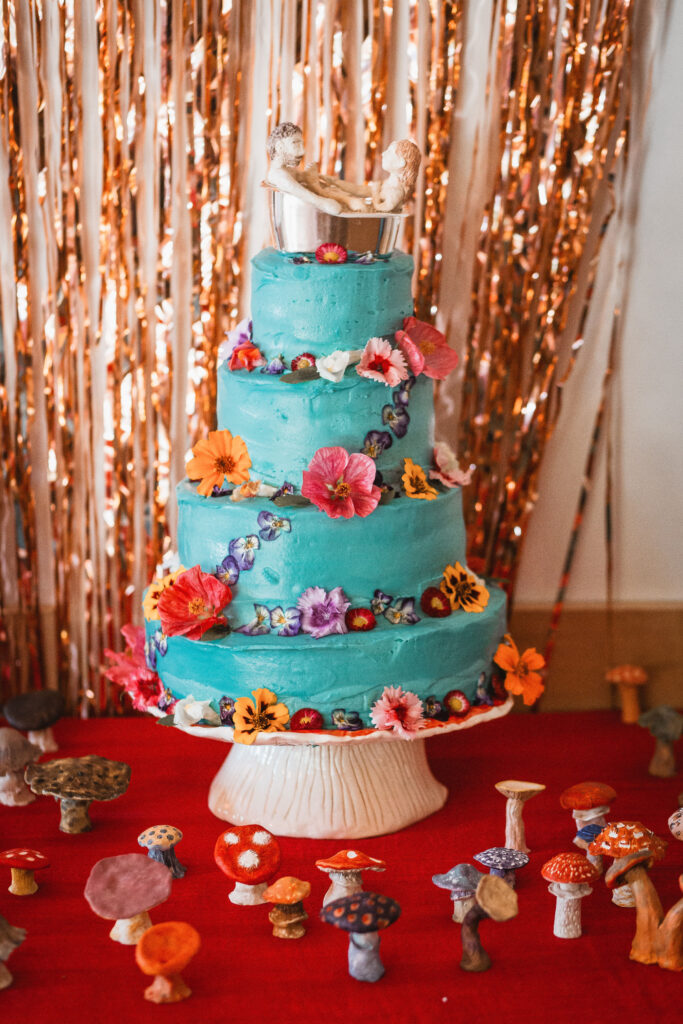
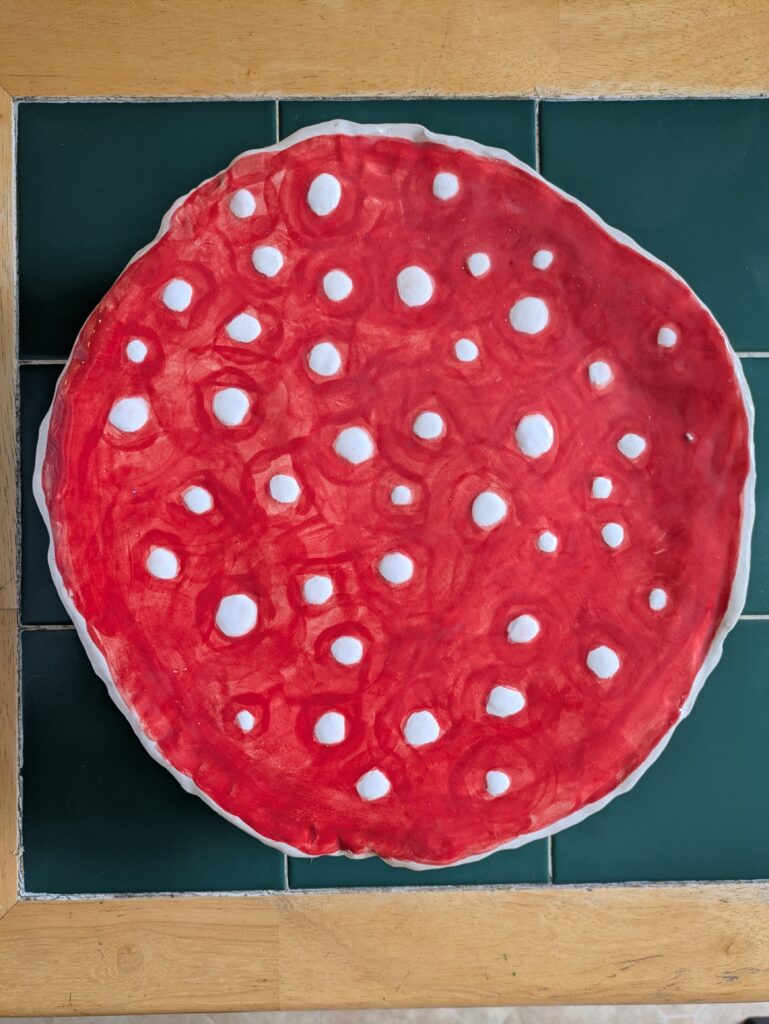
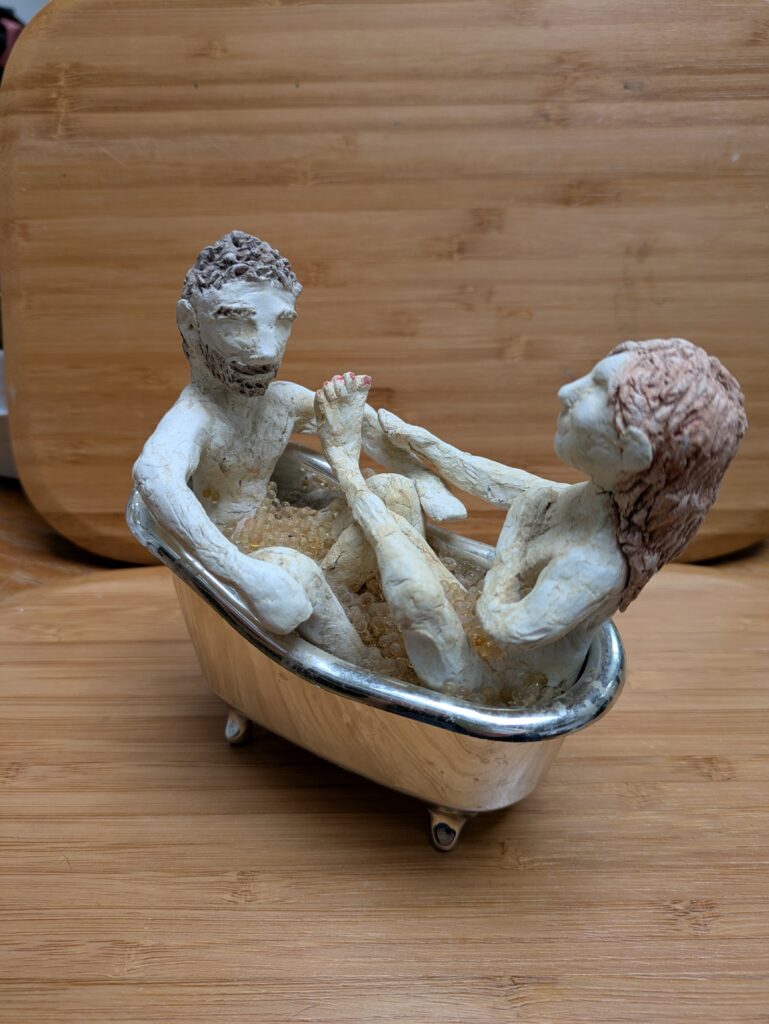
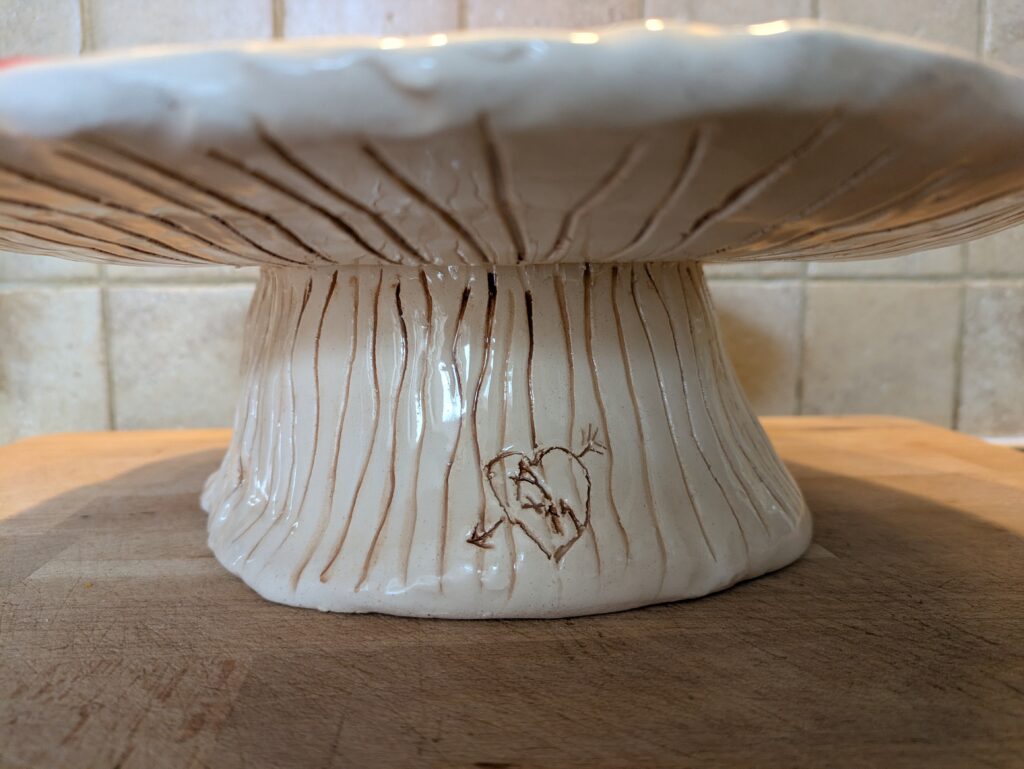
My sister Bonnie took charge of these crafts as she wanted to gift them to me.. She sculpted a beautiful mushroom cake stand, complete with our initials “carved” into the base. She is an amazing sculptor, so this was a doddle for her. She has made me other gifts in the past, which I look forward to sharing with you. She may also feature in guest posts, so be sure to look out for those!
My husband’s surname is Bath hence the bathtub topper. I had purchased a dolls house bathtub online, and Bonnie then sculpted myself and my husband from air dry clay having a bubble bath together. Orb balls made the bubbles look real and kept our modesty covered.
7. Piñata smash
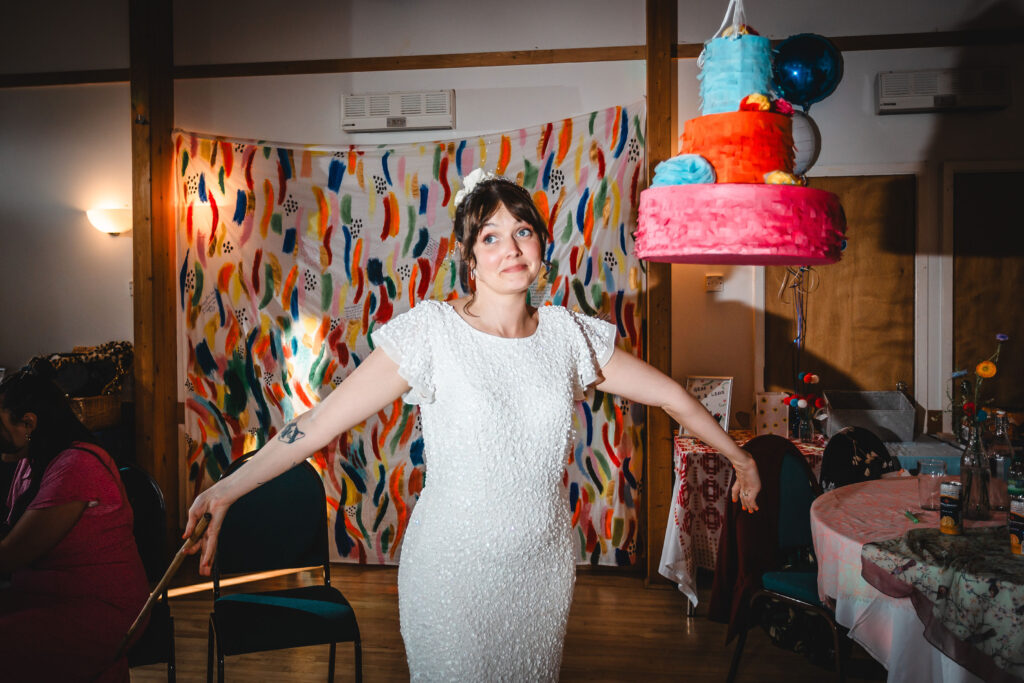
Having a Piñata was one of the best decisions. I mainly did this for all the children at the wedding, as there were around 12 of them, and I had filled it with fun items like bouncy balls, sweets and transfer tattoos. The Piñata was pretty simple to make, using up old cardboard boxes for the main structure and then gluing strips of frayed colourful tissue paper around the edges. I also added some tissue paper flowers as decoration. This was much more fun than a cake cutting, and the kids loved getting involved!